Landscaping Ideas for Sloped Yards: Smart Ways to Make Every Level Work
Landscaping Ideas for Sloped Yards: Smart Ways to Make Every Level Work
A sloped yard can feel like a property working against you. The mower is awkward to control, rainwater seems to choose its own route, mulch migrates downhill, and that beautiful outdoor table never quite sits level. Yet some of the most memorable gardens in the Hamptons are shaped by changes in elevation rather than perfectly flat ground.
The real concern is deciding what to do with the grade before choosing plants, stone, or outdoor features. On Long Island’s East End, sandy soils, coastal winds, salt exposure, summer downpours, freezing winter temperatures, and occasional powerful storms can all influence how a slope performs. A design that looks good after installation still needs to drain properly, resist erosion, and remain practical through changing seasons.
At Oceanview Landscapes, we approach sloped properties by studying grade, drainage, soil, circulation, and how homeowners actually want to use their yards before developing the design. The landscaping ideas for sloped yards below follow the same principle: work with the natural elevation, then use thoughtful construction and planting to make it more useful.
Here are some of the best ways to turn a difficult incline into a comfortable, attractive part of your property.
1. Turn One Steep Slope Into Several Usable Terraces
Terracing is one of the most effective solutions when a yard has a significant grade.
Instead of treating the property as one continuous incline, terraces divide it into a series of flatter areas. Each level can then serve a purpose. One might become a dining terrace, another a garden bed, and a lower section could provide lawn space or a quiet seating area.
The important detail is that terraces need to be designed as structural elements, not simply flattened patches of soil.
Retaining walls must account for the pressure of soil and water behind them. Drainage stone, appropriate backfill, and properly placed drainage systems help prevent water from building up against the wall. Wall height, soil conditions, and local requirements can also determine whether engineering or permits are needed.
For Hamptons properties, natural stone can be particularly effective because it settles visually into the surrounding architecture and planting. The material should still be selected according to structural requirements, maintenance expectations, and the character of the home.
2. Use Retaining Walls as Part of the Design
A retaining wall has a practical job, but it does not have to look purely functional.
Thoughtful placement can make a wall feel like part of the garden. A low retaining wall beside a patio might double as informal seating. A series of shorter walls can create planting pockets. Stone walls can also help establish visual transitions between an upper terrace and lower lawn.
One mistake we often see with steep yards is trying to solve too much elevation with one tall, dominant wall. Where site conditions allow, several smaller grade changes can feel more natural and create better opportunities for planting.
Drainage deserves just as much attention as the visible stonework. Water trapped behind a retaining wall creates hydrostatic pressure, which can contribute to movement, cracking, or failure over time. The part you cannot see is often what determines how well the wall performs years later.
3. Build Steps That Feel Comfortable to Use
If you need to move from the house to a lower pool, garden, lawn, or entertaining area, the route should feel intentional.
Outdoor steps need consistent riser heights and comfortable tread depths. On a long slope, introducing landings can make the climb easier and give people natural places to pause.
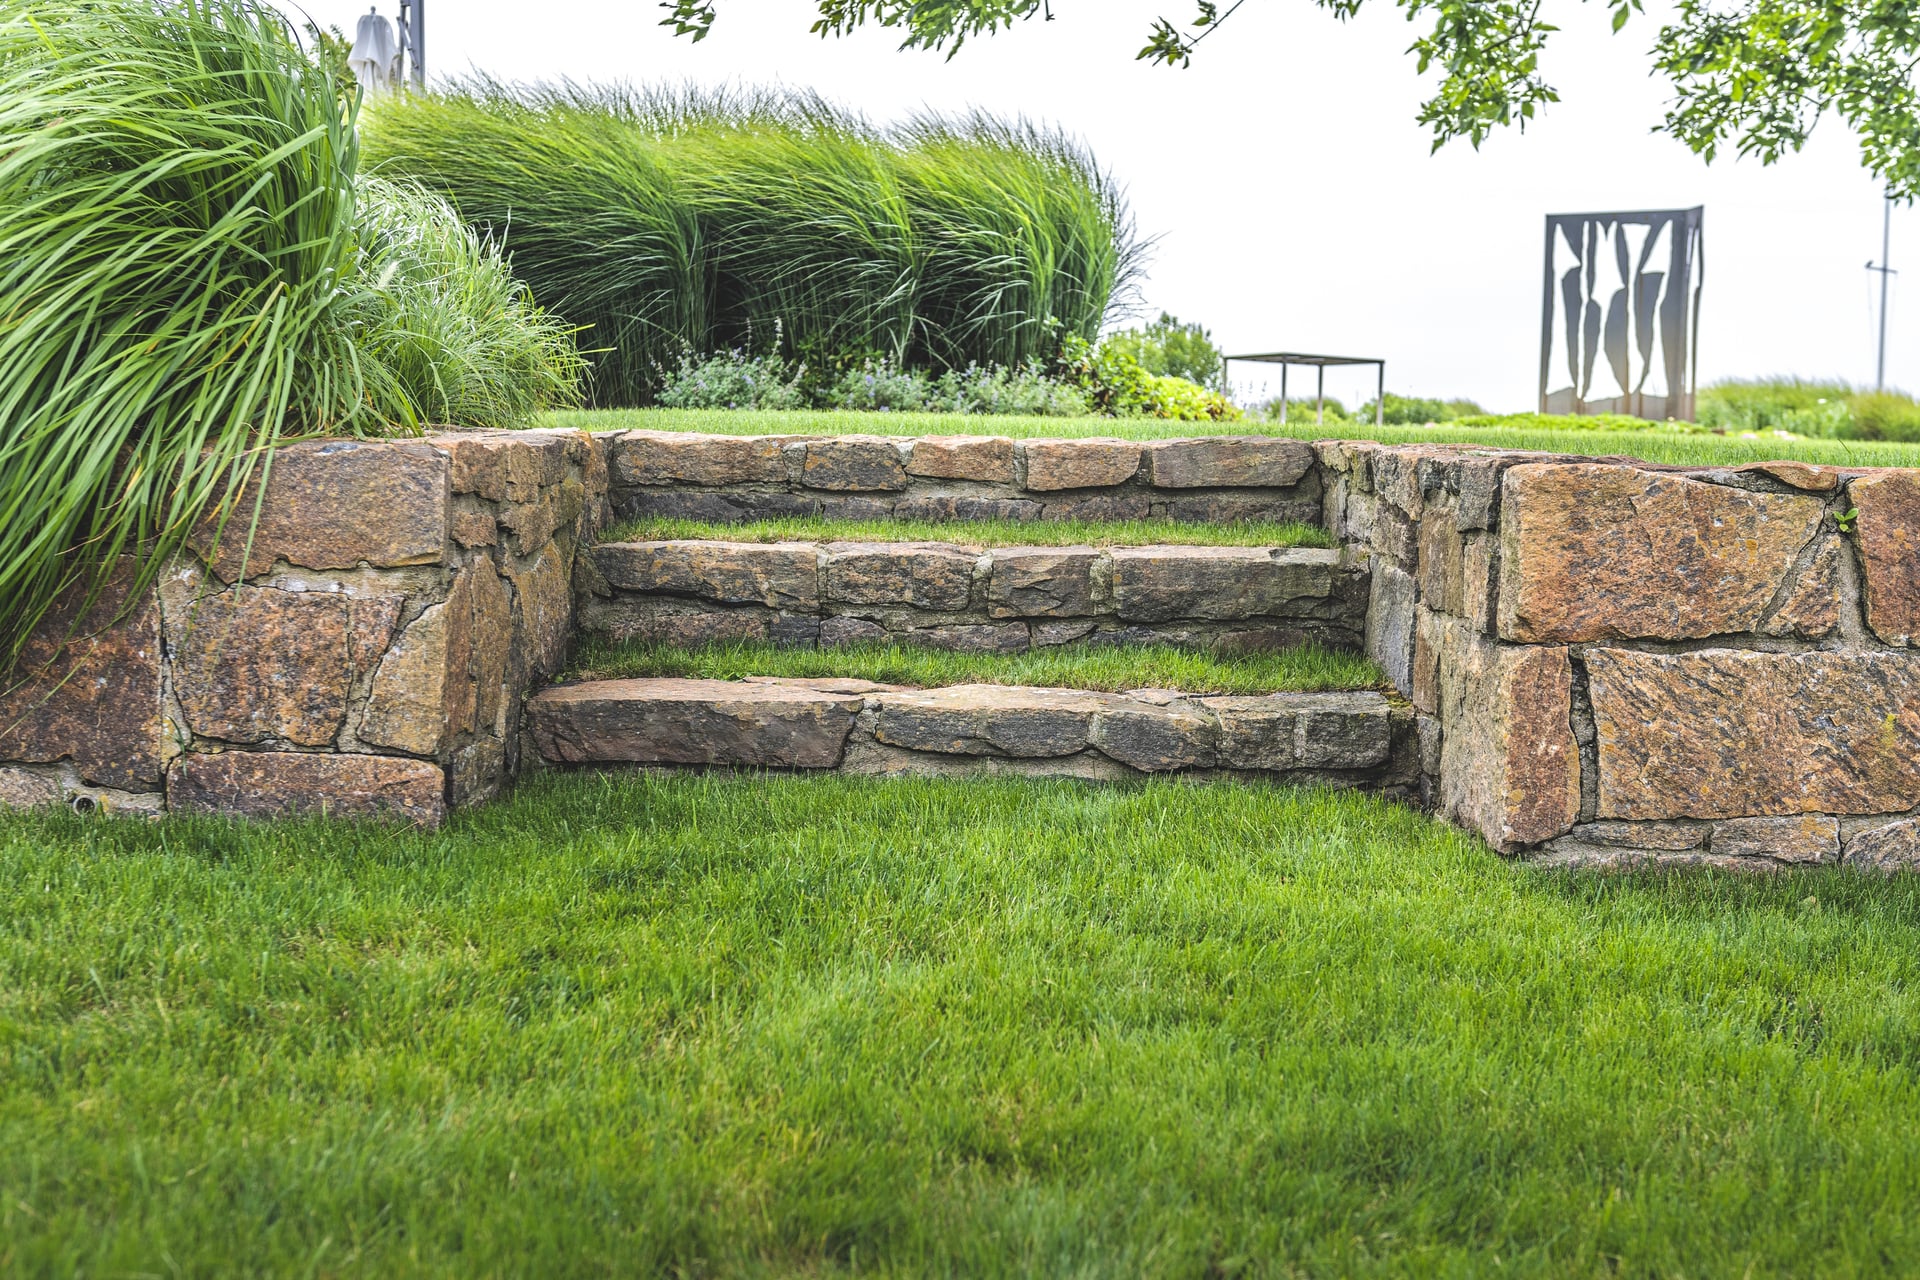
The path does not always need to travel directly downhill, either. A gently curving or switchback route may reduce steepness and make the walk more enjoyable.
Material choice matters in our coastal climate. Stone used for steps should offer dependable traction when wet, and construction needs to account for freeze-thaw conditions. Lighting along stairs and landings also improves visibility without turning the garden into an overly illuminated space.
4. Plant the Slope Instead of Fighting It
Not every incline needs hard construction.
For slopes that do not need to support patios or other structures, planting can help stabilize soil and soften the grade. The goal is to create layers of roots at different depths.
Groundcovers protect exposed soil close to the surface. Perennials and ornamental grasses add denser root systems, and shrubs can provide deeper stabilization along with greater visual structure.
Plant selection should be based on the actual conditions of the slope. A sunny, dry incline near the coast has very different needs from a shaded slope beneath mature trees. Soil moisture can also vary dramatically from the top to the bottom of the same hill.
Using plants suited to those small changes gives the garden a better chance of establishing successfully with less intervention.
5. Replace Difficult Lawn With Layered Planting
Grass and steep grades are rarely good friends.
Mowing can become uncomfortable or unsafe, irrigation may run downhill before soaking into the root zone, and thin turf leaves soil vulnerable to erosion. If an area of lawn is difficult to maintain, consider whether it needs to remain lawn at all.
A layered planting bed can turn that troublesome section into one of the strongest visual areas of the property.
Start with shrubs to establish structure, then fill spaces with grasses, perennials, and spreading groundcovers. Repeating plant groupings across the slope creates a calmer appearance than scattering many unrelated varieties.
In the Hamptons, choosing plants with suitable tolerance for sandy soil, wind, and possible salt exposure can make a noticeable difference, particularly on properties closer to the water.
6. Give Stormwater Somewhere Sensible to Go
Water always moves downhill, which makes drainage one of the first things to study on a sloped property.
During a heavy summer storm, runoff can gather speed as it crosses bare soil or hard surfaces. If nothing interrupts that flow, you may end up with washed-out beds, exposed roots, sediment on patios, or water collecting where it should not.
The answer is not always to move water away as quickly as possible.
Depending on the property, grading, planted swales, permeable surfaces, drainage systems, or rain-garden-style planting areas can slow, redirect, or absorb runoff. The correct approach depends on soil infiltration, elevation, neighboring properties, existing structures, and where the water is coming from.
Drainage should be planned early. Trying to correct it after patios, walls, lawns, and planting beds are installed is usually much more disruptive.
7. Create a Destination at the Bottom of the Hill
People are more likely to use a sloped yard when there is a reason to walk through it.
A lower portion of the property can become an intimate seating terrace, fire-pit area, garden retreat, pool space, or shaded gathering spot. The journey downhill then becomes part of the experience rather than an inconvenience.
Consider the view from above as well. On a sloped property, homeowners often look down onto lower areas from the house, deck, or upper terrace. Furniture arrangements, paving patterns, planting beds, and even drainage features may be visible from several elevations.
Designing for those elevated views can make the entire yard feel more connected.
8. Use Boulders Carefully
Large natural stones can help visually anchor a hillside, particularly when they appear to emerge naturally from the grade.
Placement is critical. A boulder sitting on top of the soil can look artificial and may create stability concerns. Properly installed stone is typically partially buried and securely seated, with surrounding grades and planting integrated around it.
Clusters often look more convincing than evenly spaced individual stones. Plants can then weave between them, creating the impression that the garden developed around existing rock formations.
Boulders should never be treated as a substitute for properly engineered retaining structures where substantial soil support is required.
9. Think About Maintenance Before Choosing the Design
A sloped garden can look impressive on installation day and become frustrating two years later if nobody considered how it would be maintained.
Ask practical questions early. Can crews safely reach every planting bed? Is there a sensible route for moving soil, mulch, or equipment? Will mulch repeatedly wash downhill? Can irrigation reach plants evenly? Are steps comfortable to use when carrying tools?
.jpg)
Mulch movement is particularly common on steeper grades. Dense groundcover planting, erosion-control materials during establishment, carefully placed stone, and suitable edging can help reduce migration.
Irrigation may also need to be divided into zones because the upper and lower portions of a slope can retain moisture differently.
10. Use Lighting to Reveal the Changes in Elevation
Slopes offer interesting opportunities for outdoor or backyard lighting.
Rather than flooding the entire hillside with brightness, subtle fixtures can define stairs, highlight stonework, illuminate selected trees, and make changes in grade easier to recognize after dark.
This is especially useful when entertaining during long summer evenings. Guests should be able to understand where paths end, steps begin, and terraces change elevation without being distracted by glare.
Fixture placement also needs to anticipate plant growth. A small shrub today may completely block a light several seasons from now.
11. Let Some of the Slope Stay Natural
There is no rule saying every foot of a property needs to become active space.
On larger lots, retaining a portion of the slope as a naturalistic planted area can reduce maintenance and create an appealing transition between more formal spaces and the edges of the property.
This approach works especially well when the architecture and surrounding setting call for a relaxed Hamptons garden style. Sweeps of grasses, shrubs, groundcovers, and seasonally changing perennials can create movement without making the hillside feel overdesigned.
The result can also provide greater seasonal interest, from spring growth and summer flowers to autumn seed heads and winter structure.
Start With the Grade, Not the Wish List
The best landscaping ideas for sloped yards begin with understanding the land itself.
Before deciding where the patio, stairs, planting beds, or retaining walls should go, study how steep the property is, where water travels during storms, how much sun different areas receive, and which parts of the yard people genuinely need to access.
Late summer and early fall are useful times to observe these conditions in the Hamptons. Heavy summer rain can reveal drainage patterns, and planning ahead gives homeowners time to consider improvements before the following growing season.
A slope does not need to be hidden or completely flattened. With careful grading, drainage, planting, circulation, and material choices, elevation can become one of the features that gives an outdoor space its character. The goal is to make every level feel purposeful, comfortable, and connected to the home around it.
